
Related Products

NZXT H510 - CA-H510B-W1 - Compact ATX Mid-Tower PC Gaming Case - Front I/O USB Type-C Port - Tempered Glass Side Panel - Cable Management System - Water-Cooling Ready
case

NZXT H510 - CA-H510B-B1 - Compact ATX Mid-Tower PC Gaming Case - Front I/O USB Type-C Port - Tempered Glass Side Panel - Cable Management System - Water-Cooling
case

ASRock MB TRX40 Creator AMD Ryzen Threadripper sTRX4 TRX40 Max256GB DR4 ATX
motherboard
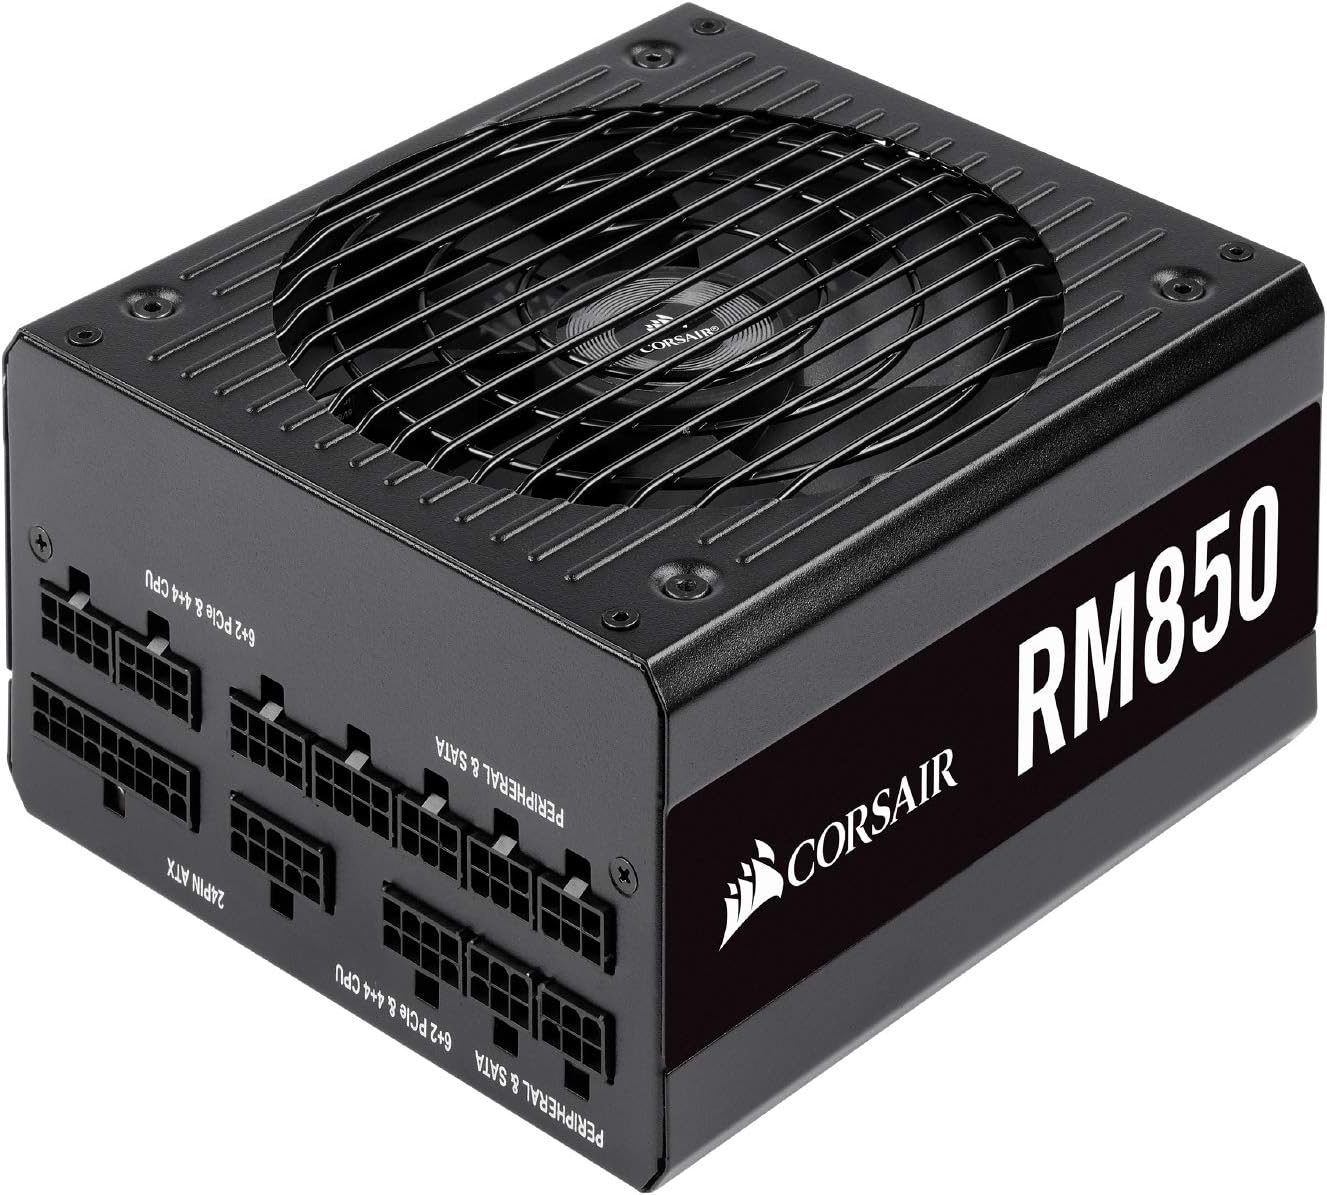
Corsair RM 850 Series, 80+ Gold Certified 850W Fully Modular Power Supply
power supply
Rosewill ATX Mid Tower Computer Case with PSU, Solid Computer Case + 500w Power Supply, Front I/O: 2X USB 3.0, 2X USB 2.0 and Audio
4.2 (3,928 ratings)
N/A
Key Features
- PC Case + Power Supply: Excellent mid tower computer case with 500W power supply (psu) delivers the best solution for your computer system.
- Easy Access I/O Port: This is an office computer case with 2 x USB 3.0, 2 x USB 2.0, Audio In/Out Front Ports to offer the easy access to this computer case at the front.
- Excellent Airflow: With 1 x 120mm rear computer case fan, ROSEWILL R536-BK offers the optimized ventilation to our users for long time operation.
- Stylish Design and Look: This ATX computer case / desktop case has a stylish look front panel. With solid and cool front panel, R536-BK gives you a better option of your office desktop.
- Sturdy Construction: To level up the experience for users, R536-BK is a solid body with vented PCI-E slots and perfectly ideal for intel and AMD systems.
* The PC Builder is a participant of the Amazon Associates Program, through which we earn advertising commission on qualified sales by linking to the Amazon products.
Customer Reviews
Rum
***This review is for the SRM-01 model***I love the look of this case, very professional and minimalist.PROS:-Amazing Price-Sick look and feel to the outside of case (although the front panel is plastic that looks like a brushed metal)-Big power button, very small reset button (which prevents button mistakes)-3 USB ports on the frontCONS:-VERY CRAMPED INSIDES. After installing my graphics card, I almost couldn't fit my SSD in the designated installation bay. I REALLY had to squeeze the crap out of my graphics card and the wires that were connected to it. It would have been IMPOSSIBLE to install an actual 3.5 inch hard drive in the same place.-Speaking of hard drives, it is also impossible to install a CD reader, as all the wires are stuffed into that bay.-Uneven power button (no big deal)-Feet at the bottom of the case are uneven, the case stands still but can teeter left/rightI have only had the case for about 3 hours and will be updating as I see fit. Though there are some disadvantages, I am happy with my purchase and the price I paid.POSITIVE UPDATE AFTER 2 DAYS:I specifically wanted to update this review after paying special attention to the air flow in the case. Although all the components are stuffed into the case without much room between them, there is almost NO sound coming from any of the fans. After some decent amount of cable management through the cutouts in the case, there is PLENTY of air flow to keep my PC cool and quiet. This is a really good sign for the future of my gaming rig. Though putting the motherboard under the power supply is a crappy flaw, since the GPU is heated up at the bottom of the case. Still not much of a problem.UPDATE 1/20/2016 (I added an extra star for this):After removing the front panel, I found an empty spot for a 120mm FAN!!!! This case already had great air flow, keeping my 280x at/under 64 degrees with a single fan, I can't wait to buy another fan to see what this baby can really do!UPDATE 07/23/2016I have turned this case on its side and placed a 120mm fan on the side vent as exhaust. All other holes are passive intake. This is the most efficient setup I've created with this case, really the best price to performance you can get.
Brandon Kleeman
I bought this case to house some old unused computer components and make a cheap secondary PC. My main PC is an EVGA D-7 and coming from that i was surprised by the quality of this case for the price. Obviously the plastic front feels cheap, and the metal of the case is pretty thin, but for this price range it is to be expected. What I was most impressed with wast the back panel. Behind 2 really cheap feeling thumb screws their is ample space for tor routing your power supply cables. Sadly, I couldn't utilize this feature due to the crappy old dell PSU I was using had really short cables but its nice to know its there for when I eventually upgrade my main PCs PSU, knowing that it will have a decent home. Another great bonus to the case is the size of the air holes on the side panel. Its the perfect size for fan screws so you can easily add additional fans for airflow. And trust me you will need that extra airflow as the fron panel 120mm fan is quite weak and thus does practically nothing for the front of that case as it can only intake air from the bottom of the case. In fact, if you were not planning on buying extra fans, i would recommend moving the 120mm to the side panel. as for the audibility of the fans the 120 is quite quiet, though the 80mm does have a very audible whirring sound but it does competently push out heat in return.Overall, you get what you pay for with this case. Its nothing amazing but its competent and good for the money. A great case for transplanting an old system or a budget build into. It has plenty of space for a full size graphics card if you're into that, though a mini gpu would still be recommend if you plan on using more than one HDD slot.
Tom T
As-sold it's 3 stars, barely. With the easy mods below, it gets to 4 stars if you value a small build.This is one of the smallest, narrowest mATX cases you can buy and that's why I bought it, but that comes with compromises.The biggest one is not the cramped space, but the 80mm exhaust fan as you can't fit anything bigger in this small of a case. Want a 120mm exhaust fan? You need to buy a bigger case. I'm using a Ryzen 5 2600 and Sapphire Pulse 5600XT and yes, the Pulse *barely* fits. Maybe 2mm taller and it wouldn't. But the real issue is that close fit means less ventilation and with the stock CPU cooler, both the CPU and GPU head north of 75C while gaming.Both can be "fixed" by just removing the side panel. But that's no fun.Instead the heat/ventilation problems can be actually fixed with a few case mods on the back. First is to cut the case's grill away from the 80mm exhaust fan (thin metal makes this easy) and then run that fan at full speed. It's not loud and now does a very good job removing much of that heat. I also bought a $20 Cryorig M9a for the Ryzen and it both fits in the case and, along with the newly freed case fan, easily keeps the R5 2600 cool. This combo rarely exceeds 60C in games now.The second mod is to remove the lowest PCI bracket. Yeah not much of a mod but this lets the 120mm front case fan blow over your GPU and exhaust some of that heat out the back. Even with the cramped airflow of the bulky Pulse, it doesn't go above 66C or so when gaming at 100% GPU use. Of course the Pulse's size is also helping here as it's an overkill cooling solution for the 5600XT.I have zero complaints about cooling an hours long gaming session in this case now.Other notes:Case is very cheap, treat is carefully as metal is thin.Lift the front of the case with longer feet or risers as the small front air intake is at the bottom.You need to remove the 80mm fan to install your motherboard.Front IO is better than many in this price range.Cable management doesn't leave a lot of room, use a semi-modular PSU and you can get a clean looking install. I found that to be a fun challenge but others might find this annoying.That cable management is likely very important to keep the airflow controlled, especially for the GPU. My air across the bottom of the case is completely unobstructed.If you build a similar setup to mine with an aftermarket tower cooler, things have to be installed in the case in this order or you could block your GPU out:1. Motherboard with CPU cooler mounting backplate already installed2. 80mm case exhaust fan3. GPU (if it's big like the Pulse, even medium size ones like a Ventus 1660 Super might still need to go in here)4. Mount the CPU cooler5. Everything elseI used the R5 2600's box cooler for a while and there is *barely* enough clearance to install/remove the Pulse when everything is installed. The Cryorig takes up way more space and traps the GPU in (or out if you didn't install it first).So I can't remove my GPU to upgrade it unless I either remove the CPU cooler or cut part of the side support of the case away. Seeing as it's a pretty flimsy case, cutting this may not be the best ideal. The Cryorig is at least easy to mount so just removing and reattaching the cooler might be best.In conclusion, I actually had fun working with this case's limitations and in fact I'm very happy with how it finally turned out.
More Related Products

Fractal Design Meshify Mini C Tempered Glass
case
Fractal Design
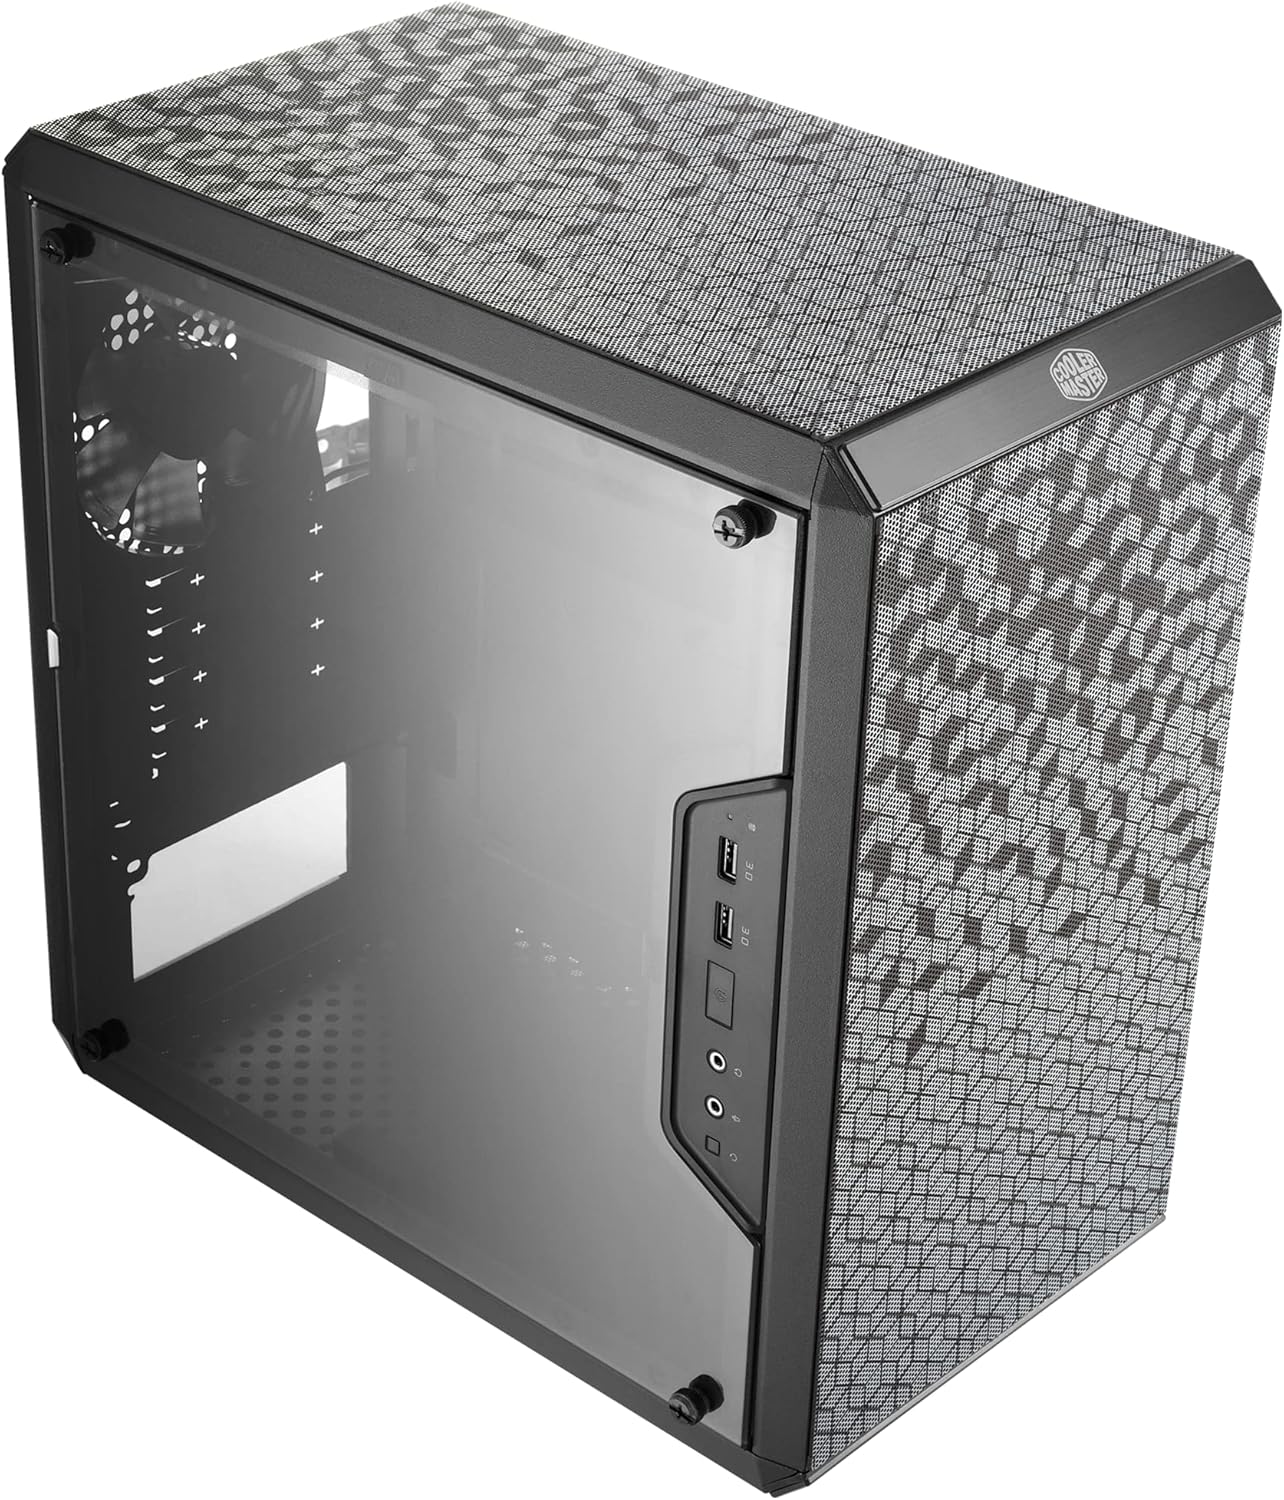
Cooler Master MasterBox Q300L Micro-ATX Tower with Magnetic Design Dust Filter, Transparent Acrylic Side Panel, Adjustable I/O & Fully Ventilated Airflow
case
Cooler Master

Asus ROG Strix TRX40-E Gaming AMD 3rd Gen AMD Ryzen Threadripper sTR4 ATX Motherboard with 16 Power Stages, Onboard WiFi 6 802.11Ax, 2.5Gbps, USB 3.2 Gen2, 3X M.2, OLED and Aura Sync RGB Lighting
motherboard$599.95
ASUS

MSI Creator TRX40 Motherboard (AMD sTRX4, PCIe Gen4, M.2, USB3.2 Gen2x2, DDR4, 10G LAN, Wi-Fi 6, eATX)
motherboard
MSI

Corsair CX 650 Series, 80+ Bronze Certified 650W Modular Power Supply
power supply
Corsair

Corsair CX Series, 80 Plus Bronze Certified 550W Modular Power Supply
power supply$148.68
Corsair
More Related Products
Fractal Design Meshify Mini C Tempered Glass
case
Fractal Design
Cooler Master MasterBox Q300L Micro-ATX Tower with Magnetic Design Dust Filter, Transparent Acrylic Side Panel, Adjustable I/O & Fully Ventilated Airflow
case
Cooler Master
Asus ROG Strix TRX40-E Gaming AMD 3rd Gen AMD Ryzen Threadripper sTR4 ATX Motherboard with 16 Power Stages, Onboard WiFi 6 802.11Ax, 2.5Gbps, USB 3.2 Gen2, 3X M.2, OLED and Aura Sync RGB Lighting
motherboard$599.95
ASUS
MSI Creator TRX40 Motherboard (AMD sTRX4, PCIe Gen4, M.2, USB3.2 Gen2x2, DDR4, 10G LAN, Wi-Fi 6, eATX)
motherboard
MSI
Corsair CX 650 Series, 80+ Bronze Certified 650W Modular Power Supply
power supply
Corsair
Corsair CX Series, 80 Plus Bronze Certified 550W Modular Power Supply
power supply$148.68
Corsair